
I remember being a small child and watching The Wizard of Oz. I was always very lucky to have always have had colour television as a child, but I can just imagine how amazing the transition from black and white would have been…a huge paradigm shift for that time.
The world has colour exploded since then, and we had the likes of artists such as Andy Warhol, that have pushed colour boundaries beyond abstract reason, and into a melody of technicolor.
But what happens when the market for colour has become saturated? How does one return to capture the elements of their subject, in simple black and white? Here are some of my tips when focusing on capturing the black and whites.
- Focus on Composition

When you take pictures in colour, it is easy to draw attention to what you want to capture. Really colour leads you to your focal point. With black and white photography, you are forced to think of your focal points, and use those to construct meaning to the image.
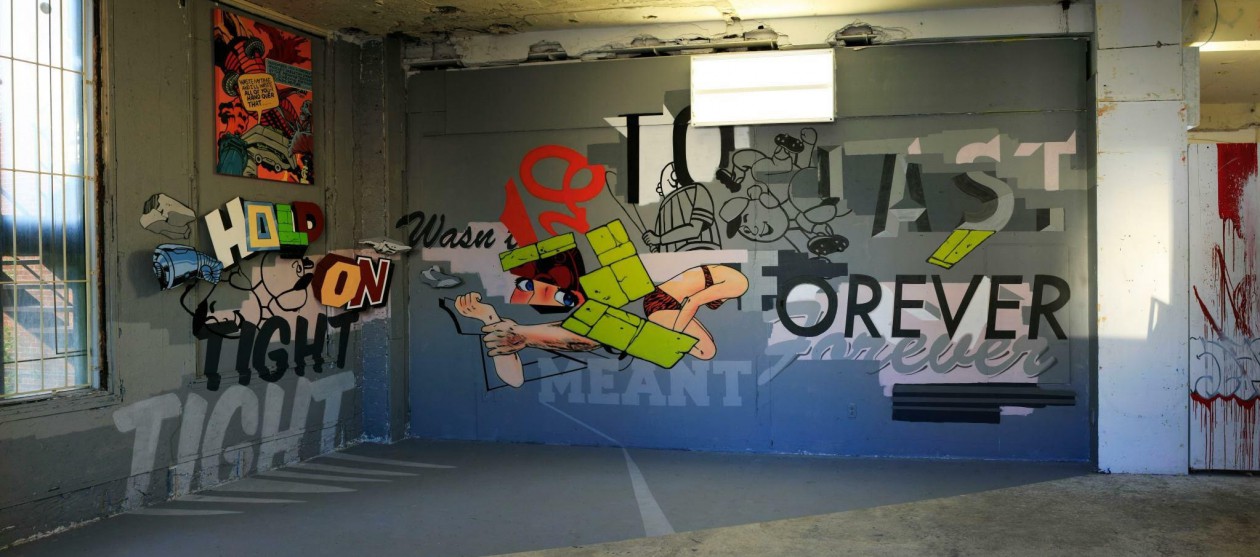
When I first learned this, I was messing around with a belt that I had bought in a store called Brighton Collectables, in The Walden Galleria Mall in Buffalo, New York. I am not much of a shopper, and definitely low-keyed when I wear jewelery, but I was inspired by this heart-chained belt. You can see that I decided to use it to play with composition, and use the necklace as my focal point. It is highlighted further by the use of shadow, allowing only a tip of the heart to see the light. In black and white photography it is essential to consider drawing attention to your focal points and using shadows to help highlight.
- Play with the Contrast
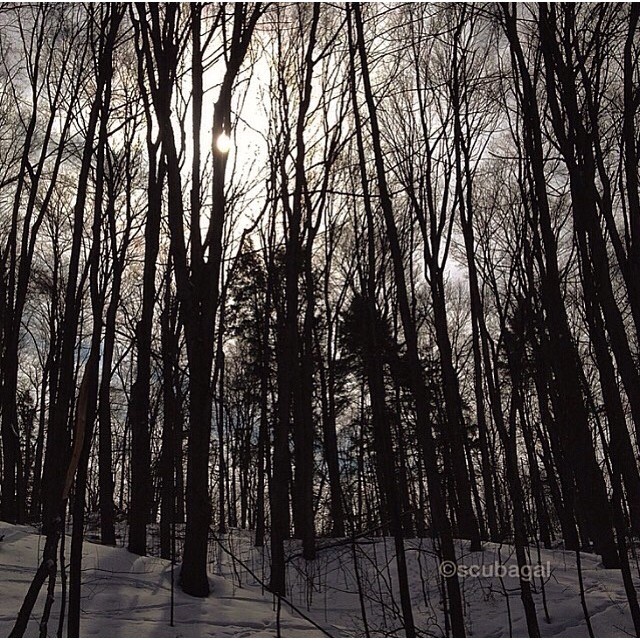
As we all know, once you take away colour, you are forced to focus on the elements, and the interchange of light around your composition. I really enjoy the contrast of light interfacing in and between the window of my camera. I find it creates a distinction between dark shades and bright light that highlights certain parts of a picture and enhances the photo in an unique way.This photo of maple trees was taken at The Kortright Centre for Conservation in Ontario during the Maple Syrup Festival which runs for about 6 weeks during the early part of spring. I chose to edit this picture in black and white, during post production. The trees, just like this year, were not running their sap because the temperature was still trapped in a deep cold spell. I felt that the sap was caged, and wanted to emphasis that in a black and white motif, as if the sap were imprisoned. In colour, this just doesn’t have the same effect. Contrast really does help to create those amazing differences.
- Keep Your ISO Low

In black and white photography, we like to use the lowest ISO as possible to increase the quality of the image without adding unnecessary grain. This of course is dependent on a premium sensor, which is responsible to transform the image. When choosing the ISO setting, I decide on how well my subject is lit up. My answer generally will dictate the ISO value that I will use. I tend to pick higher ISOs for darker conditions to enable more light to hit the sensor. In so doing though, I may risk having a lot of “noise” or grain within the photo.
Another important variable to consider is whether the subject is moving, or stationary? Again, the greater the ISO, the better it is to also capture movement as speed inevitably turns out better with a higher ISO. Also if you are visiting Art Galleries or churches, you may also want to adjust the ISO as many of these places ask you not to use a flash, so in order to make the sensor more sensitive to light and capture the image in the dark, this will also need to be considered.
- Try HDR
When you are capturing photos in HDR, or high dynamic range photography, you are essentially exaggerating the image. Lines pop up, and angles are enhanced. There is a sense of texture and vibrancy that illuminates the picture. With HDR, the photos are also highlighted and shadows deepened to create a mood.
I don’t normally shoot in black and white, but transform the image during post processing. There are cameras that offer these options, but I like to choose to keep the color and then later transform it to black and white after I reflect on the image. It is a little trickier for me to do it the other way, by capturing in black and white and then adding color. But either way you shoot it, you will enjoy the artistic elements that the image will offer by adding a little HDR.
- Use RAW
Using a RAW image is a preferred way of capturing black and white photos as you can have many more options to play with in post-production. By shooting in RAW, you ensure the best quality with the maximum amount of tonal and detail information. It includes loads more data than a simple JPEG file, and will enable you to concentrate on bringing out your white balance, sharpening and contrast.
Instead of your camera, your computer becomes your source to process the pictures. Usually a software program like lightroom 5 works wonders in creating and enhancing the image. Most DSLR cameras offer the ability to shoot in RAW, and if you choose to process black and white photos, this really is the way to go.
- Take Advantage of a Polarizing Filter

Finally, and one of my favorite all-time add-ons, is to use a polarizer to boost the contrast in your graphic black and white shots. Your typical colored filters aren’t suitable here, but by rotating the filter you’ll be able to darken skies, and make lighter objects such as buildings, stand out more.
The polarizer will also take away reflections from the non-metallic objects like water and glass, which helps to focus on the graphic image more. As well, it will be able to add light to contrast further with your shadows.
So those are a few of my tips in taking pictures in black and white. I hope it helps you take some sweet pictures! Feel free to share with me your tips, too!
à bientôt,
scubagal
Follow me at: scubagal’s Instagram, twitter, Facebook