
Tis the glorious holiday season, when many of us flock south to enjoy the warm hospitality of our southern neighbours. I figured I would take the time to discuss the intricacies of taking photos using DSLR cameras in warm and tropical temperatures.
- Sand and Salt Dangers
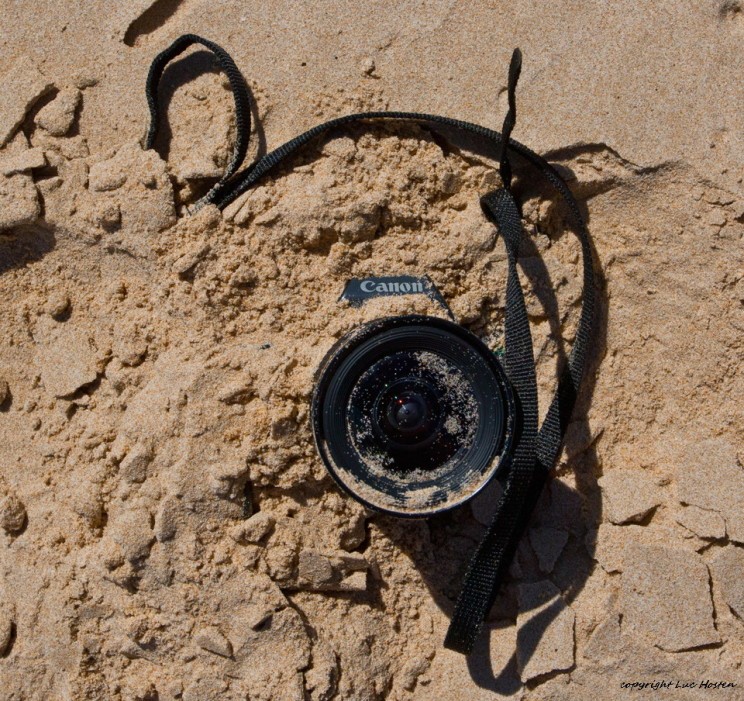
Sand and salt dangers are a photographer’s worse nightmares when deciding to go to the beach for a photo shoot. I try to avoid the whole situation on a windy day, because chances are, I will undoubtedly have a sand or water issue. But if you must go, even the smallest maneuver will need careful consideration to have a successful photo shoot at the beach. Here are some steps that I think about:
Right from the get-go, when I apply my favourite all natural sunscreen, I make sure I am nowhere near my camera. If I decide to spray on the screen, I make sure to stand downwind, and that my camera is tucked carefully away to prevent from being misted. In danger of sounding patronizing, I would also always wash my hands after applying the sunscreen because it is corrosive and will cause damage. That’s just the sunscreen!
It should go without saying that you should never ever put your camera down in the sand. That is an invitation for even the smallest grains to find their way into your system. If you even think that has happened, don’t turn it on, because the turning of the gears will cause the sand to go further into your system. If you should happen to have this tragedy come to pass, please take your gear to a professional where they will be able to ensure that it is cleared without damage.
Finally, you may want to consider using moisture proof camera bags when photographing around water and sand. Not only will it help protect against moisture, but it will definitely help to keep out those testy unwanted grains, which should by all means stay between your toes.
- Sunglasses

Funny enough, most photographers forget to protect their biggest asset. Eyeglasses are an essential accessory to safeguard your eyes in the sunshine. The most photosensitive of artists are usually also, the more sensitive to light. This is a genuine concern because you don’t want to be blinded by sunshine just before you capture that great shot!
Deciding on the best time to go can really help alleviate the need for glasses all together. You may just want to capture the sun as it is rising or falling over the horizon, and significantly gentler on the eyes. However, if you do want to be on the beach during the high noon, I would definitely bring out the sunglasses. My specs of choice are to bring out the amazing quality, such as, Ray Bans in this situation. For sure, they protect your eyes from the sharp rays of the sun, at least until you find your image that you wish to capture. Just try not to set them down in the sand, least you get them covered with those little grains of sand that will stick to your lens!
- A Beach Umbrella
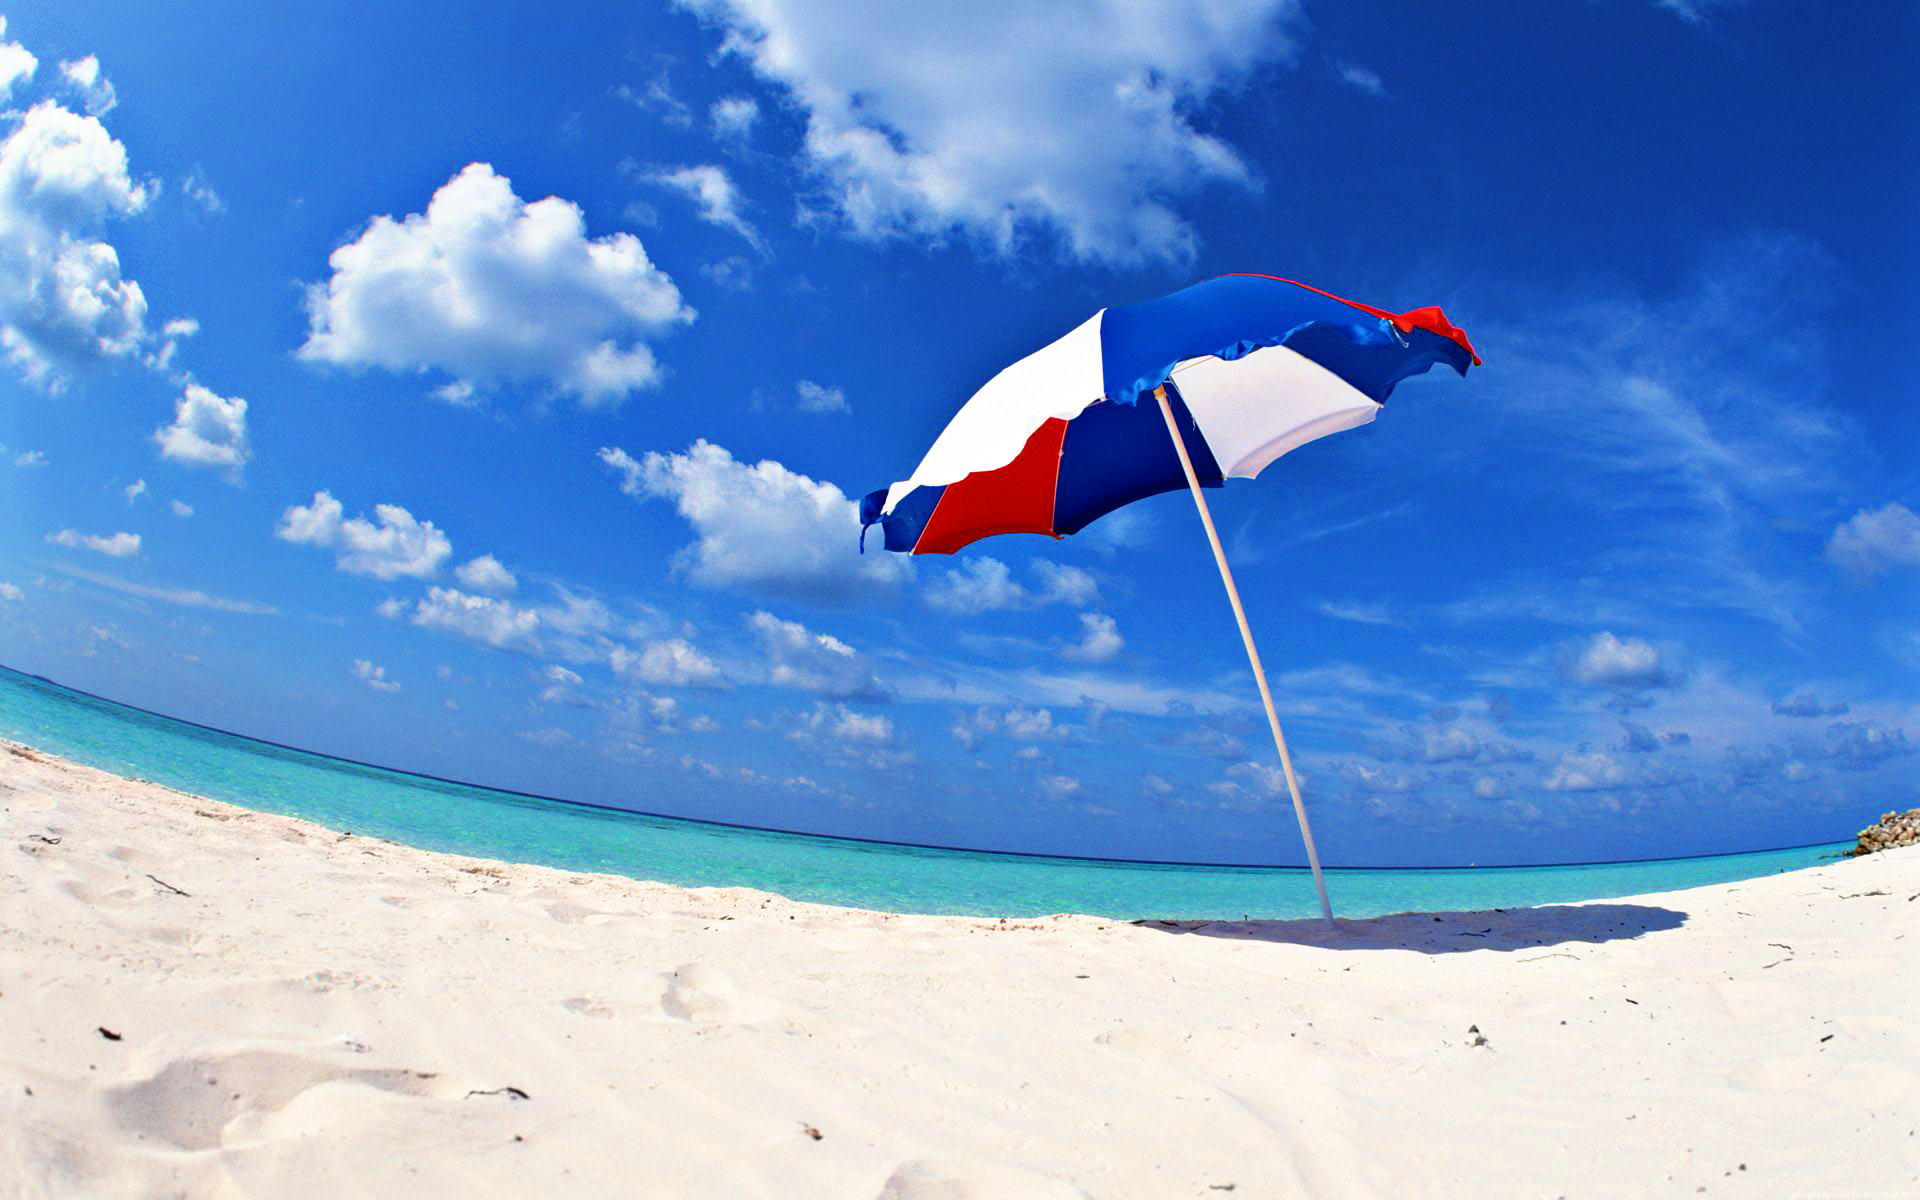
If you are considering shooting any portraits, please use an umbrella, or shade. By blocking out some of the sun, even with a beach umbrella, you may find that your subject doesn’t get washed out. Also, by using an umbrella, you are able to add extra colour to your photos. I really like to see, as in the picture above, the splash against a beautiful blue sky. If you don’t have a beach umbrella handy, you could also use your body or piece of cardboard to create some shade.
Having said that, there is also nothing wrong with simply moving into the shade. If you are shooting portrait shots, sometimes it is just easier to capitalize on the portability element and move yourselves into a more preferred area.
- Batteries and Thermal Pack

As in the extreme cold, batteries tend to burn more energy in the heat. You may remember my suggestion that you should carry an extra pair of batteries when experiencing extreme temperatures in either hot or cold weather.
However, unlike using a battery belt to keep your batteries close to your body, if you are photographing on the beach, you should pack your batteries in a thermal lunch pack. This will enable your batteries to stay protected from both the heat and the sun, as well as the sand on the beach and water. Keep in mind that ocean spray contains lots of salt that has a corrosive effect on your camera. Keep it protected.
The other advantage of having these water camera bags is that you may just decide to shoot in the water. Just by thinking this, I am feeling both a bit excited and anxious. Water damage can be extensive on any equipment (even with a bag of rice handy). So, if you opt to use your DSLR camera, over the waterproof variety, please consider purchasing any handy waterproof bags.
3 . Filters, Filters and Filters
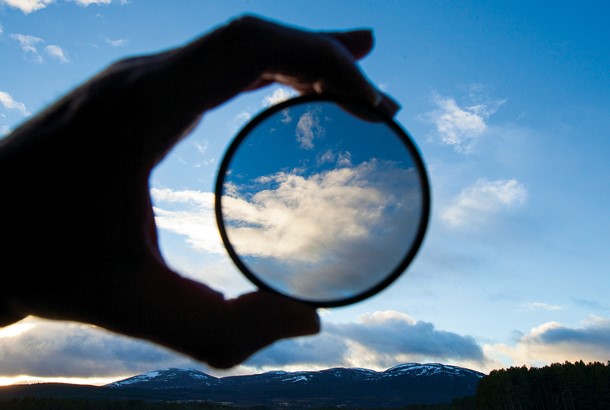
Filters are usually a great idea when you want to shoot any beach scene. The bright sunlight can play havoc on most images, but a polarizing fliter for Canon. By using this type of filter, you can screen out some of the harsher rays, and capture the image without the harsh white light of the sun.
An UV filter will protect your camera lens from both the sand on the beach, and the UV rays which does have pose difficulty and damages your camera.
You may also want to consider bringing a neutral density filters. This will also allow you to reduce the intensity of your light, and allow you to slow down your shutter speed to snap some great blur shots.
- Reflectors

Strong sun can cause strong unflattering shadows. A reflector is an amazing piece of equipment that helps to reduce the harsh glare caused by the intense beach sunshine. Fill-in flash will help too, but what I like about camera reflectors is that you can play with different coloured ones, like gold or white, to help create natural and warm tones.
To lift shadows off your model and create a more flattering glow, try using a white reflector underneath your subject’s face, chest level. This will help alleviate the shadows under their eyes or wash out the crevices of their wrinkles (sshhh). It will also add a sparkle, and create highlights in the darks of their pupils. If you want your subject to have a warmer glow, try using a gold reflector. Either way you will be sure to be very happy with the results!
- Timing

It is no problem for a night owl like myself to wait it out for that perfect time to snap some awesome photos pointing directly at the sun. The colour of both dusk and dawn on a beach, for me, are the most exquisite. I actually prefer shooting during the times of the warm fiery tones of dusk or the cool blue tones of dawn. The white light of a noontime beach is really harsh for my eyes.
But, having said that, I am also a full believer that if you want to catch an amazing silhouette, you will definitely need to have that sun pointing directly at your subject. I personally love silhouettes because they don’t give you all the detail, and force your imagination to fill in the gaps for interpreting the image. What a fantastic way to create a mood, emotion or convey a message.
Either way, timing is everything on a beach. If you love sunrises and sunsets as much as I do, you will have to make sure to plan it effectively to not miss it. I would definitely bring someone else to that beach to catch that sunset. It is always better with two. For all those going out to a beach over the Winter Break, I wish you a very lovely time. Be careful with your cameras, and whatever you do, keep the sand between your toes. 🙂
à bientôt,
scubagal
